 Save It
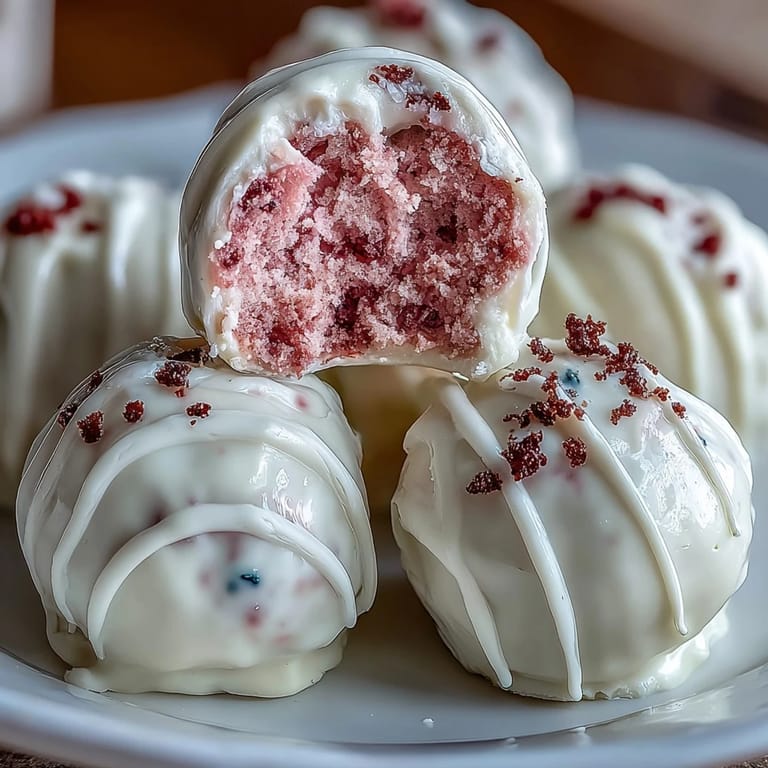
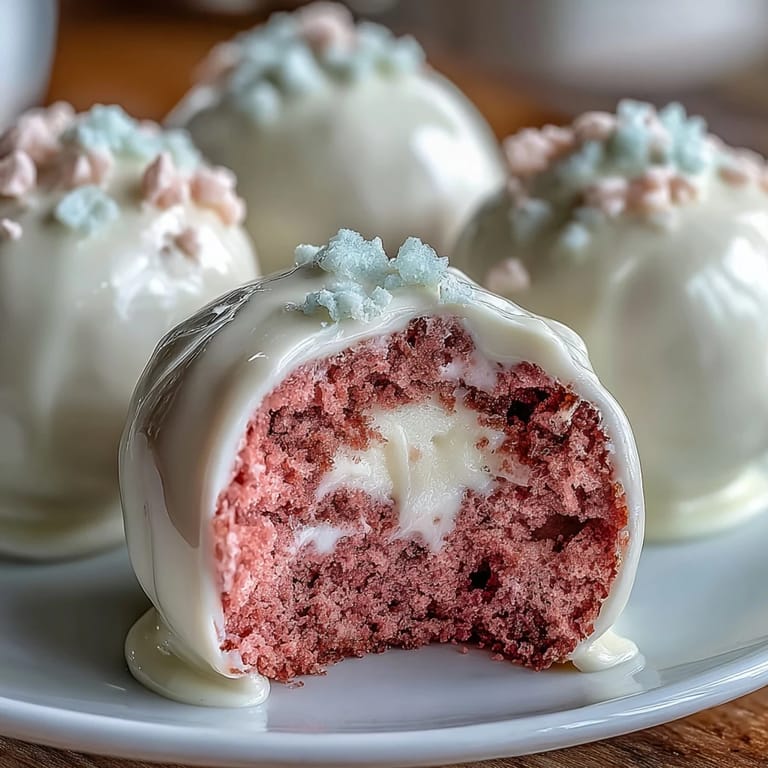
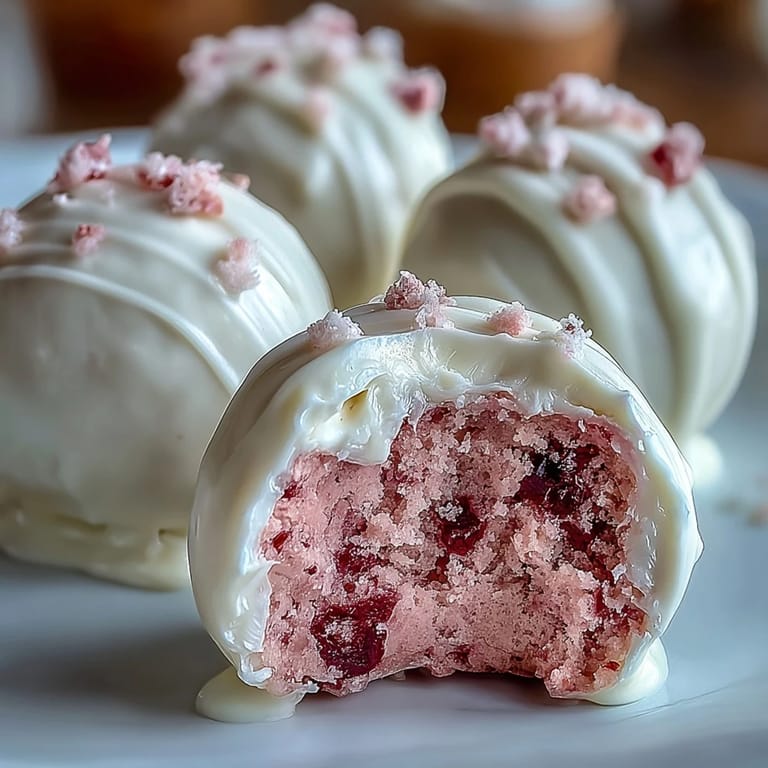
 My coworker Sarah showed up to the office one February afternoon with a box of the most delicate pink cake pops I'd ever seen, and the moment one melted on my tongue, I understood why she'd spent her Sunday afternoon making them. The tender pink velvet cake crumbled perfectly against the tartness of cream cheese frosting, all wrapped up in that silky white chocolate shell. I went home that night determined to recreate them, and after a few batches and some sticky fingers, I finally figured out the magic. Now whenever I need to bring something special to a gathering, these little gems are my answer. They're the kind of dessert that makes people pause mid-conversation to ask for the recipe.
I brought these to my book club last year, nervous about how they'd be received since I was the newest member and still proving myself in the group. The room went quiet when everyone bit into one, and then someone said, 'Wait, you made these?' and suddenly I belonged. That small moment of being known for something I created by hand stayed with me far longer than I expected. Food has this beautiful way of opening doors that polite conversation can't quite reach.
Ingredients
- All-purpose flour: The foundation of your tender crumb, and measuring by weight rather than scooping makes all the difference in consistency.
- Granulated sugar: Gives structure and helps carry the cocoa flavor without overwhelming the delicate pink hue.
- Unsweetened cocoa powder: This is the secret ingredient that deepens the pink velvet flavor and adds subtle chocolate notes that balance the cream cheese.
- Baking soda and salt: The baking soda reacts with the buttermilk and vinegar to create a tender crumb, while salt amplifies every flavor.
- Buttermilk: Room temperature buttermilk incorporates more smoothly and creates a more tender cake than cold.
- Unsalted butter: Softened butter creams properly with sugar, trapping air that makes the cake light and fluffy.
- Eggs: Room temperature eggs emulsify better, creating a smoother batter that bakes evenly.
- Vanilla extract and white vinegar: The vinegar reacts with baking soda for loft, while vanilla rounds out the flavor profile.
- Pink gel food coloring: Gel holds its color better than liquid dyes and won't thin your batter the way drops would.
- Cream cheese frosting ingredients: This combination creates a frosting that's tangy but still sweet, with enough body to hold the cake balls together.
- White chocolate or candy melts: Candy melts are easier to work with than real chocolate for dipping, staying smooth longer.
Tired of Takeout? 🥡
Get 10 meals you can make faster than delivery arrives. Seriously.
One email. No spam. Unsubscribe anytime.
Instructions
- Preheat and prepare:
- Set your oven to 350°F and give it time to reach temperature. Grease your 8-inch square pan generously, then line it with parchment that hangs over the edges slightly, making it easy to lift the cooled cake out in one piece.
- Combine dry ingredients:
- Whisk flour, sugar, cocoa powder, baking soda, and salt together in a medium bowl, breaking up any lumps in the cocoa as you go. This distributes the leavening evenly so you won't have any dense pockets in your final cake.
- Cream the butter:
- Beat softened butter until it looks pale and fluffy, about 2 minutes. Add eggs one at a time, letting each fully incorporate before adding the next, which builds an emulsion that keeps everything tender.
- Add flavor foundations:
- Stir in vanilla extract and white vinegar, feeling the batter lighten as the vinegar does its work. These additions are doing more than flavoring, they're actually helping your cake rise and crumb beautifully.
- Alternate wet and dry:
- Add the dry mixture and buttermilk in three batches, starting and ending with dry. This method prevents overmixing, which is the enemy of tender cake and the reason some batches come out tough.
- Color the batter:
- Add 1 to 2 teaspoons of pink gel food coloring depending on how vivid you want the pink, and mix until the color is uniform throughout. The cocoa powder will mute the pink slightly, so don't be shy with the coloring.
- Bake:
- Pour batter into your prepared pan and bake for 22 to 25 minutes, testing with a toothpick near the center that should come out clean or with just a few crumbs. Overbaking creates dry crumbs that won't hold together well in the next steps, so err on the side of slightly underdone.
- Make the frosting:
- Beat softened cream cheese and butter together until completely smooth with no lumps, then gradually add sifted powdered sugar to avoid a gritty texture. The final frosting should be fluffy enough to hold a peak, which means it has enough body to bind your cake crumbs.
- Create the mixture:
- Crumble your completely cooled cake into a large bowl and fold in frosting until the mixture holds together when pressed. You want it moist but not wet, which usually means using all or most of your frosting depending on how tender your cake is.
- Roll and chill:
- Roll the mixture into balls about the size of a walnut, working quickly so the warmth of your hands doesn't make them stick too much. A 30-minute chill firms them up so they don't fall apart when you dip them.
- Melt the chocolate:
- Heat your white chocolate or candy melts in 20-second bursts in the microwave, stirring between each burst for a smooth, lump-free coating. Overheated chocolate becomes thick and breaks, so patience is your friend here.
- Secure the sticks:
- Dip each stick tip into melted chocolate and insert halfway into a chilled cake ball, then give the whole tray another 10-minute chill. This step is crucial because a loose stick will spin inside your cake ball during dipping, creating a messy situation.
- Dip and decorate:
- Submerge each pop completely into melted chocolate, let excess drip back into the bowl, then immediately add sprinkles or candies while the coating is still sticky. Working quickly and in batches prevents the chocolate from cooling too much and becoming clumpy.
- Set them upright:
- Place each finished pop into a styrofoam block or cake pop stand, sticks up, and let them sit at room temperature until the chocolate is fully set. This takes about 30 minutes and prevents the coating from sliding down one side.
 Save It
 A friend's daughter chose these for her seventh birthday party instead of a traditional cake, and I watched this quiet kid who doesn't usually talk much light up describing the pink color and the creamy middle to everyone at the table. Her mom told me later she'd requested them specifically because I'd made them, which made me realize that sometimes feeding people isn't about impressing them, it's about letting them know you were thinking of them. That distinction has changed how I cook for others entirely.
The Pink Velvet Difference
Red velvet has been done, but pink velvet is still surprising people, maybe because it feels both vintage and modern at the same time. The cocoa powder is subtle enough that you get depth without heaviness, and the buttermilk and vinegar give you that distinctive tender texture that makes people wonder what's different about your cake. The pink isn't just food coloring theater, it actually changes how people experience the flavor because our brains taste with our eyes first.
Why Cream Cheese Works Here
Cream cheese frosting could be heavy, but when you whip it with softened butter and powdered sugar, it becomes almost cloud-like while still having that signature tang. The tartness cuts through the sweetness of the cake and chocolate coating in a way that makes you want another one immediately instead of feeling overly indulged. It's also stable enough to hold your cake balls together without being stiff, which matters when you're rolling and dipping delicate spheres.
Storage and Keeping
These cake pops actually get better the next day once the flavors have settled, and they'll keep in an airtight container in the fridge for up to five days. The white chocolate coating protects the cake inside from drying out, so they stay surprisingly fresh much longer than you'd expect. If you want to make them ahead for a party, you can actually bake and frost them a day or two early, then dip them the morning of the event.
- Store them in an airtight container with parchment between layers so they don't stick together.
- Bring them to room temperature for about 15 minutes before serving so the chocolate coating isn't cold and snappy against your teeth.
- If your kitchen is warm, keep them in the fridge and pull them out just before guests arrive so they stay firm but not cold.
 Save It
 These cake pops have become my go-to gift and gathering dessert because they're impressive without being pretentious, and they genuinely taste like you cared enough to do something thoughtful. Whenever someone asks for the recipe, I know these little pops have already done their job.
Recipe FAQs
- → How do I achieve the vibrant pink color?
Use pink gel food coloring, adding 1 to 2 teaspoons depending on desired intensity for a bright, even hue.
- → What is the best way to bind the cake mixture?
Mix crumbled cake thoroughly with cream cheese frosting until the mixture holds together well when pressed.
- → How can I prevent white chocolate coating from melting?
Chill the coated pops on a styrofoam block or tray and keep them refrigerated until serving.
- → Can I substitute the white chocolate coating?
Yes, dark chocolate or flavored candy melts like strawberry can be used for a different taste and appearance.
- → What tools are essential for making these cake pops?
You'll need mixing bowls, an electric mixer, a baking pan, parchment paper, microwave-safe bowl, and cake pop sticks.