 Save It
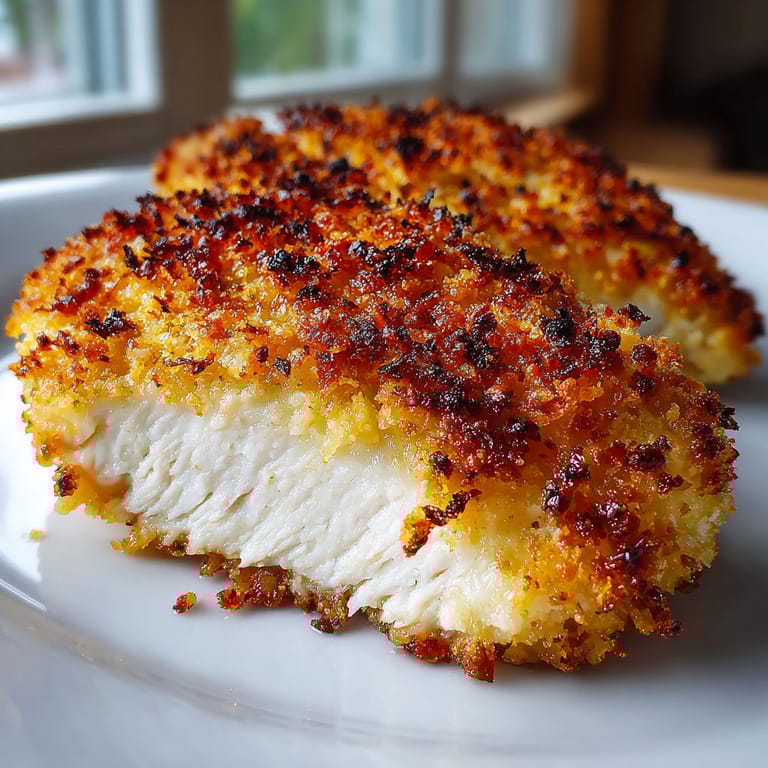
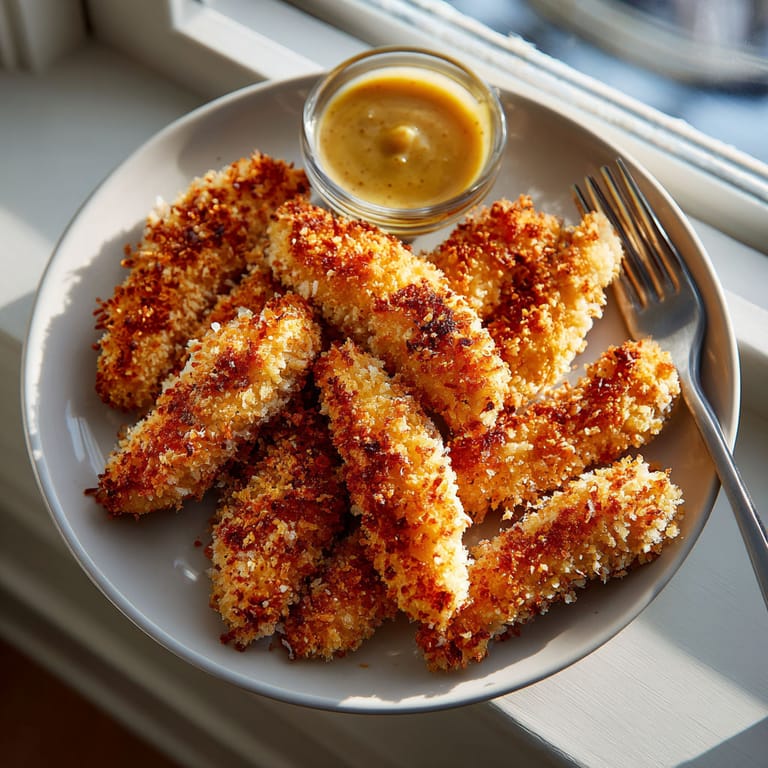
 These oven-baked crispy chicken strips have saved so many weeknights at our house—juicy inside with a golden shell that rivals any takeout. A quick homemade version for chicken tender lovers who need dinner on the table without a mess or a deep fryer. I return to this recipe whenever friends or family drop by and want something irresistibly dippable.
The first time I served these for game night, everyone thought I had picked up takeout. Now they always request a double batch.
Ingredients
- Chicken tenders: Delivers juicy meat and even cooking—look for fresh or high-quality pre-cut tenders to save time
- All-purpose flour: Ensures the egg and panko adhere well—make sure it is fresh for best results
- Eggs: Acts as a binder to help breadcrumbs stick—use large eggs for best coverage
- Panko breadcrumbs: Create that signature crunch—Japanese panko is fluffier and crispier than regular crumbs
- Cooking spray: Helps achieve golden crispiness without frying—opt for a spray with no added flavor for a clean result
Tired of Takeout? 🥡
Get 10 meals you can make faster than delivery arrives. Seriously.
One email. No spam. Unsubscribe anytime.
Instructions
- Prep the oven and breading station:
- Preheat your oven to four hundred degrees Fahrenheit. Lay out three bowls separately for flour beaten eggs and panko breadcrumbs. This setup keeps the breading process tidy and efficient.
- Coat the chicken:
- Work with one chicken tender at a time. Begin dredging it in the flour to create a dry base. Next dip it fully into the egg mixture making sure every surface is coated. Press into the panko so every side is covered with crumbs. Set each coated strip on a wire rack placed over a baking sheet for even airflow.
- Apply cooking spray and bake:
- Generously mist the tops of the chicken strips with cooking spray. This step is essential for a crisp oven finish. Transfer the rack and baking sheet to the center rack of your oven. Bake for fifteen to eighteen minutes until the exterior looks golden and the thickest part of each chicken strip registers at least one hundred sixty five degrees Fahrenheit. Rotate the pan halfway through for even color.
- Broil for extra crunch if desired:
- If you want the strips to be even crispier set your oven to broil. Watch closely as you broil them for one to two minutes. Keep a close eye to prevent burning—pull them out as soon as that topping is deeply golden.
- Serve and enjoy:
- Remove from the oven and cool slightly. Pile high on a platter and offer plenty of dipping options such as honey mustard or barbecue sauce.
 Save It
 Watching the panko toast up always makes me hungry. My favorite part is that every batch comes out almost identical to restaurant tenders. I love how the kitchen smells when these are baking and my kids usually sneak a hot one before it makes it to the table.
Storage Tips
Leftover chicken strips store well in the fridge for up to three days. For best results reheat them in the oven or toaster oven to keep the outside crisp and the inside tender. I have even packed leftovers into lunchboxes—they hold up much better than fast food.
Ingredient Substitutions
Swap chicken tenders for boneless skinless chicken breasts cut into strips if needed. Gluten free all-purpose flour and gluten free panko work just as well as regular for those with dietary needs. In a pinch crushed cornflakes make a fantastic stand in for panko.
Serving Suggestions
Pile these strips over a big salad for a main dish. They are also perfect in wraps or sandwiches. For parties set out different dipping sauces and sliced veggies for fun do-it-yourself plates.
Cultural Notes
Chicken tenders have become an iconic American finger food popularized by diners and fast food chains. This simple recipe offers a homey alternative where you can control ingredients and skip the deep fryer.
Seasonal Adaptations
Add paprika or cayenne to the breadcrumb coating for a bit of heat in winter
Mix in some lemon zest for a springtime citrus twist
Try fresh herbs from the garden in summer for a lighter flavor
Success Stories
I have made these for potlucks and friends have asked for the recipe every time. They are always surprised to learn that there is no frying. Even picky eaters have cleaned their plates. Once I tried a gluten free batch using rice flour and everyone loved them just as much.
Freezer Meal Conversion
To freeze make the recipe through breading. Arrange uncooked strips on a tray and freeze until solid. Store in a container or bag for up to two months. To cook bake from frozen at four hundred degrees Fahrenheit for about twenty five minutes.
Save It These chicken strips disappear fast every time. You will love how simple and foolproof this recipe is for any busy weeknight.
Recipe FAQs
- → How do I get a crispy coating without frying?
Baking at high heat on a wire rack with cooking spray helps keep the exterior golden and crisp while the inside stays tender.
- → What sauces pair well with these chicken strips?
Classic choices include honey mustard, ranch, barbecue, or spicy sriracha mayo—choose your favorites!
- → Can I make these gluten-free?
Yes, substitute all-purpose flour and breadcrumbs with gluten-free alternatives for similar crispy results.
- → How do I know when the chicken strips are cooked?
Check for an internal temperature of 165°F (74°C). The coating will be golden and the meat fully cooked.
- → What seasonings work well in the breading?
Try smoked paprika, garlic powder, onion powder, or Italian herbs for extra flavor in the breadcrumb mixture.