 Save It
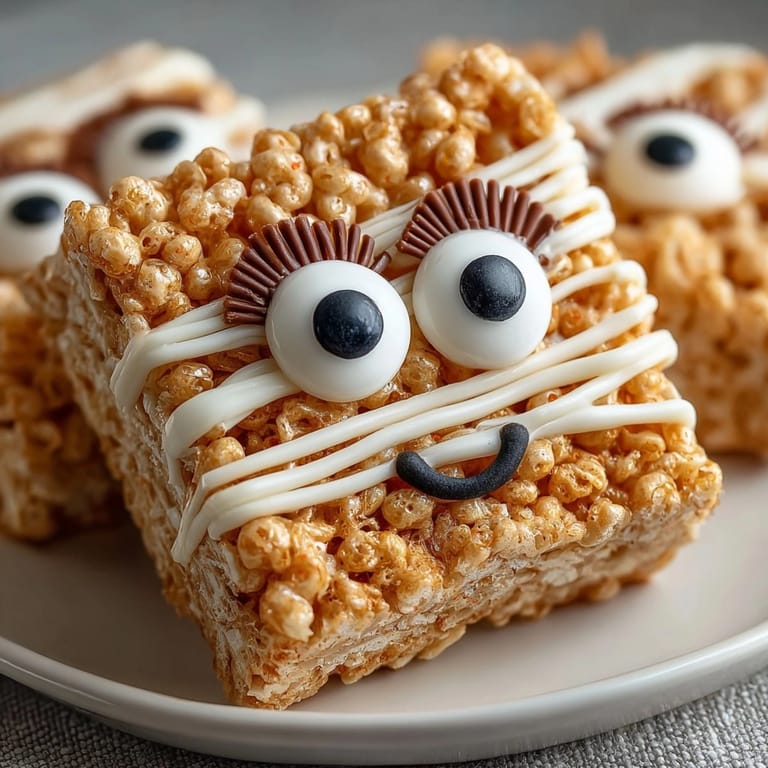
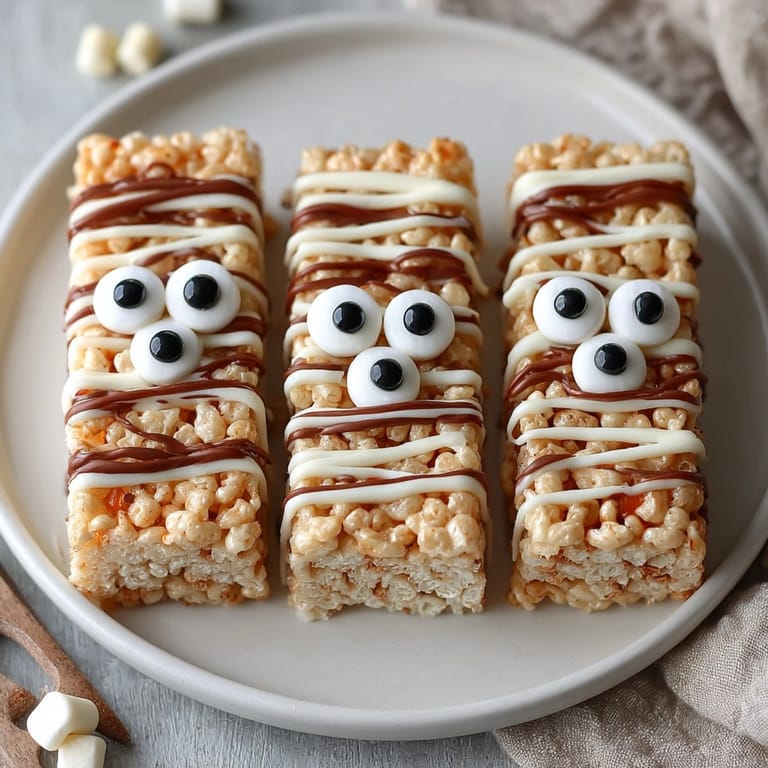
 Sweet and silly with a hint of nostalgia these Mummy Rice Krispie Treats are my go-to when Halloween hits and kids want a dessert that is both adorable and delicious They begin with the beloved chewy marshmallow cereal base then get decked out with swoops of white chocolate and googly candy eyes for that perfect spooky vibe Every year we make a batch and not a crumb survives the night
The first time I whipped up these treats I was looking for something festive and stress-free for our Halloween gathering Now it has become our family tradition and my little ones love helping with the mummy “bandaging”
Ingredients
- Rice Krispies cereal: delivers the classic crispy crunch look for fresh cereal with no staleness for best results
- Mini marshmallows: create that preferred melt and chew compared to regular ones check for plumpness and freshness before using
- Unsalted butter: adds richness and helps everything meld together choose good quality for flavor and a smooth finish
- White chocolate chips or candy melts: provide a creamy coating stick with real white chocolate for superior taste or use candy melts for easy handling
- Candy eyes: transform each treat into a cute mummy look for food-safe edible eyes at baking stores so everyone can indulge safely
Tired of Takeout? 🥡
Get 10 meals you can make faster than delivery arrives. Seriously.
One email. No spam. Unsubscribe anytime.
Instructions
- Prepare the pan:
- Line a 9x13 inch baking pan with parchment paper making sure to cover the bottom and sides for easy removal later
- Melt the butter and marshmallows:
- In a large saucepan gently heat unsalted butter over low stirring often until completely melted Next add mini marshmallows to the pot stirring continuously until the mixture is smooth glossy and without any lumps Take care not to let it brown as you want a soft pale base
- Mix in Rice Krispies:
- Take the pan off the heat and immediately pour in the Rice Krispies cereal With a sturdy spoon work quickly to coat all the cereal evenly with the marshmallow mixture Do not overmix to keep everything light and chewy
- Press and set:
- Transfer the sticky mixture to your lined pan Use a buttered spatula or a piece of wax paper to gently press the mixture into an even layer Handle lightly so you do not compact the treats too much Allow it to cool and set completely for about thirty minutes
- Slice evenly:
- Lift out the cooled treat slab and move it onto a cutting board With a sharp knife cut the slab into sixteen rectangles You can trim edges for a uniform look or leave rustic for extra character
- Melt white chocolate:
- Meanwhile place white chocolate chips or candy melts in a microwave-safe bowl Warm in thirty second bursts stirring well after each interval until the chocolate is silky smooth and ready for drizzling or dipping
- Decorate as mummies:
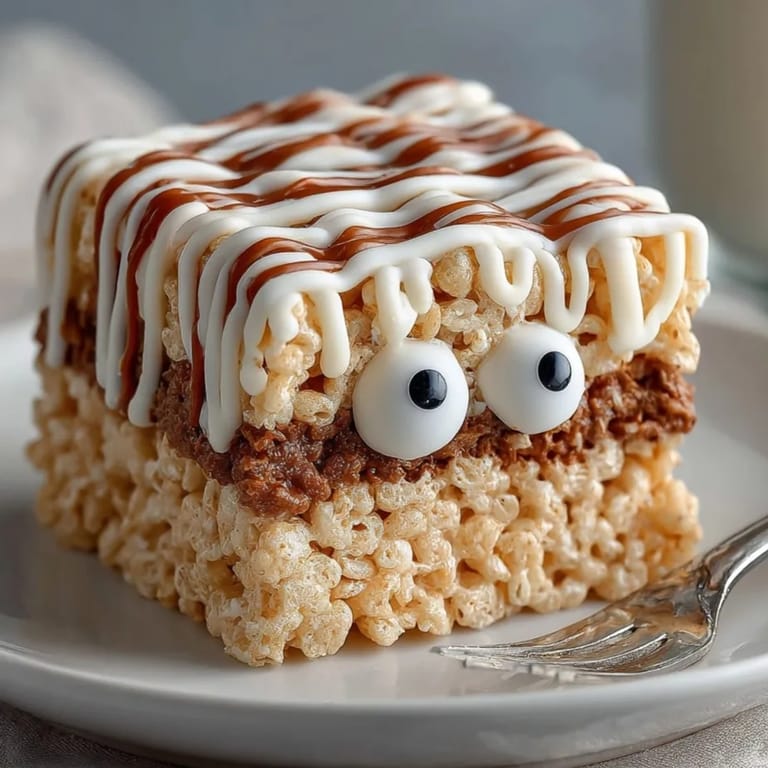
- Take each treat and either dip the top into the melted chocolate or drizzle it all over to mimic mummy bandages Use a spoon for more control Do this step quickly before the chocolate begins to harden
- Add candy eyes:
- Place two candy eyes onto each treat pressing gently so they stick in the soft chocolate Arrange them close together for extra cute expressions Add extra eyes if you want to give your mummies a quirky twist
- Let chocolate harden:
- Set the finished treats on a wire rack or lined tray at room temperature until the chocolate is firm to the touch
 Save It
 White chocolate is my favorite part on these treats Because it sets up like a shell you get a wonderful snap against the soft marshmallowy base My little ones always giggle as they carefully stick on the candy eyes theirs never quite end up straight but they insist the crooked ones are the most magical
Storage Tips
Keep your finished treats in an airtight container on the counter for up to three days If you need to store longer pop pieces between layers of parchment paper in the fridge just let them come back to room temperature before serving as chocolate can harden a bit
Ingredient Substitutions
For allergy friendly treats swap regular Rice Krispies for a gluten free version and choose plant based marshmallows for vegans If you cannot find white chocolate try dark or milk for a grown up take or use candy melts for easier melting
Serving Suggestions
I love plating these on a festive Halloween tray along with chocolate bats or gummy worms They work great tucked into treat bags for classroom parties too For extra spookiness you can tie each in colorful cellophane with bright ribbon
Cultural and Historical Context
Rice Krispie treats emerged in the 1930s thanks to clever cooks at Kellogg’s Since then the classic base has starred in creative takes year round Decorating them as mummies blends American holiday traditions with hands-on kitchen fun making it a beloved party staple
 Save It
 Arrange them in a single layer on a sheet tray then transfer to an airtight container or freezer bag with parchment between pieces Let thaw a few hours at room temperature before eating for the best texture
Recipe FAQs
- → How do I keep the bars chewy and not hard?
Avoid overcooking the marshmallows and press the mixture gently into the pan without packing too firmly.
- → Can I use other cereals instead of Rice Krispies?
Yes, similar puffed cereals work well, though the texture and flavor may change slightly.
- → Do I have to use white chocolate?
No, you can substitute dark or milk chocolate, or use colored candy melts for variety.
- → How should I store these treats?
Keep the bars in an airtight container at room temperature for up to three days for best freshness.
- → Are these treats gluten-free?
Use a certified gluten-free cereal to make them suitable for gluten-free diets. Always check any candy ingredients.
- → How do I apply the candy eyes?
Gently press two eyes into the still-soft melted chocolate on each bar before it hardens.