 Save It
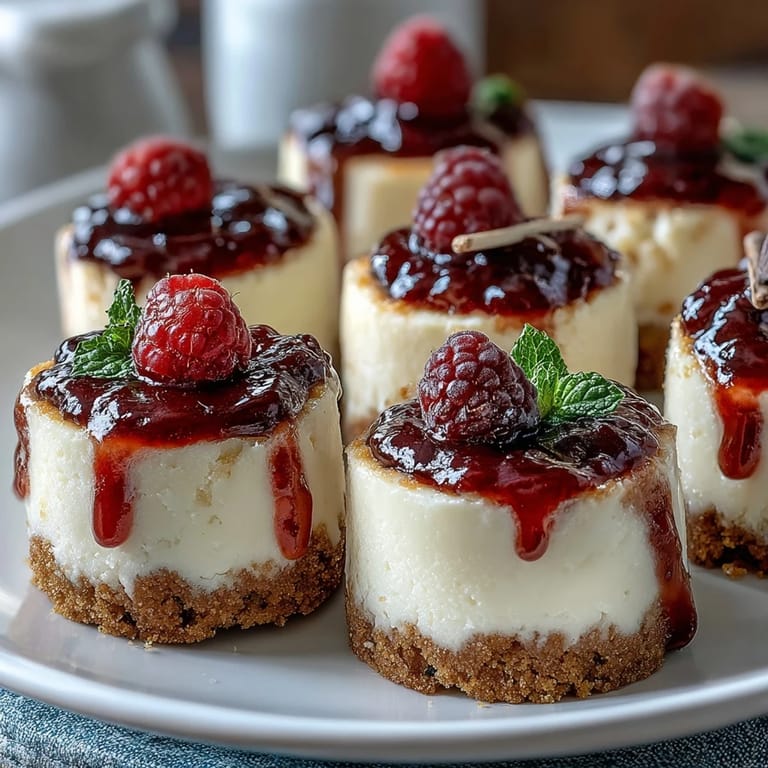
 My cousin texted me three weeks before her daughter's graduation asking if I could whip up something special for the party. I was standing in my kitchen, staring at a block of cream cheese, when it hit me—tiny cheesecakes with those adorable little diploma picks would be perfect. The idea of making something celebratory that wasn't fussy felt like the right move, and within an hour I'd tested my first batch.
I'll never forget my nephew's face when he grabbed one of these bites at the party and the diploma pick wobbled just right, making him laugh before he even tasted it. That moment crystallized why I love these so much—they're not just delicious, they're playful and meant to be shared with people you're proud of.
Ingredients
- Graham cracker crumbs (1 cup, 100 g): The foundation here is key—they need to be fine enough to compact but still hold texture, so pulse them gently if you're grinding fresh crackers.
- Granulated sugar for crust (2 tbsp, 25 g): This sweetens the base without overwhelming it, balancing the richness of butter.
- Unsalted butter, melted (4 tbsp, 60 g): Melt it completely so it distributes evenly through the crumbs and binds everything together.
- Cream cheese, softened (12 oz, 340 g): Room temperature is non-negotiable here—cold cream cheese makes lumps, and lumps ruin the silky texture you're after.
- Granulated sugar for filling (1/2 cup, 100 g): This sweetens the filling without crystallizing, creating that signature creamy mouthfeel.
- Large egg (1): The binding agent that sets the filling gently—don't skip it or your bites will be soupy.
- Vanilla extract (1 tsp): A whisper of vanilla lifts everything and keeps the flavor from feeling one-dimensional.
- Sour cream (2 tbsp, 30 ml): This adds tang and creates that dense, luxurious texture full-sized cheesecakes are known for.
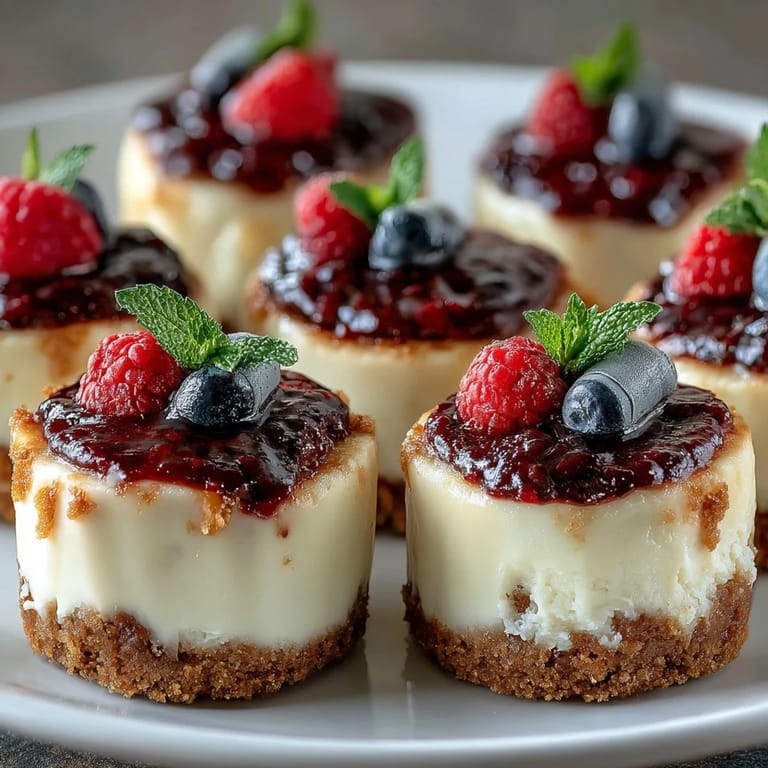
- Fresh mixed berries (1/2 cup, 75 g): Choose berries that are ripe but still firm so they don't slide around on top—I usually go for a mix of blueberries and raspberries.
- Fruit preserves, optional (2 tbsp): A light brush of warmed preserves gives the berries a professional shine that looks intentional and gorgeous.
- Diploma picks: These are the party magic—find them online or make your own with cardstock and twine for a more personal touch.
Tired of Takeout? 🥡
Get 10 meals you can make faster than delivery arrives. Seriously.
One email. No spam. Unsubscribe anytime.
Instructions
- Set the stage:
- Preheat your oven to 325°F (160°C) and line a 24-cup mini muffin pan with liners—this temperature is lower than you might expect, but it prevents the tops from cracking as they bake. Having everything prepped before you start mixing makes the process feel smooth and controlled.
- Build the crust:
- In a bowl, combine graham cracker crumbs, 2 tbsp sugar, and melted butter until it looks like wet sand and holds together when squeezed. Spoon roughly 1 tsp into each liner and press down firmly with your thumb or the back of a measuring spoon—consistency matters so every bite has the same satisfying crunch.
- Pre-bake the base:
- Bake the crusts for 5 minutes until they smell nutty and look slightly set, then pull them out and let them cool for a minute or two. This brief bake firms everything up and prevents soggy bottoms once the creamy filling goes in.
- Make the filling magic:
- In a large bowl, beat softened cream cheese and 1/2 cup sugar on medium speed for 2-3 minutes until it's pale, fluffy, and completely smooth—this is where patience pays off because lumps are impossible to fix later. Add the egg, vanilla, and sour cream, then blend gently until just combined—overmixing introduces air bubbles that can create cracks.
- Fill and bake:
- Spoon about 1 tbsp of filling into each liner, smoothing the top slightly with the back of a spoon so they look intentional. Bake for 13-15 minutes until the centers jiggle just slightly when you gently shake the pan—they'll continue to set as they cool, and overbaking leads to dense, cracked bites.
- Cool with intention:
- Let them rest in the pan for 15 minutes so they firm up without thermal shock, then transfer to a wire rack to cool completely. This patience step prevents cracking and makes them easier to handle.
- Chill and set:
- Refrigerate for at least 1 hour—overnight is even better if you're planning ahead. Cold cheesecake has the right firmness to hold up when you add toppings and picks.
- Top and celebrate:
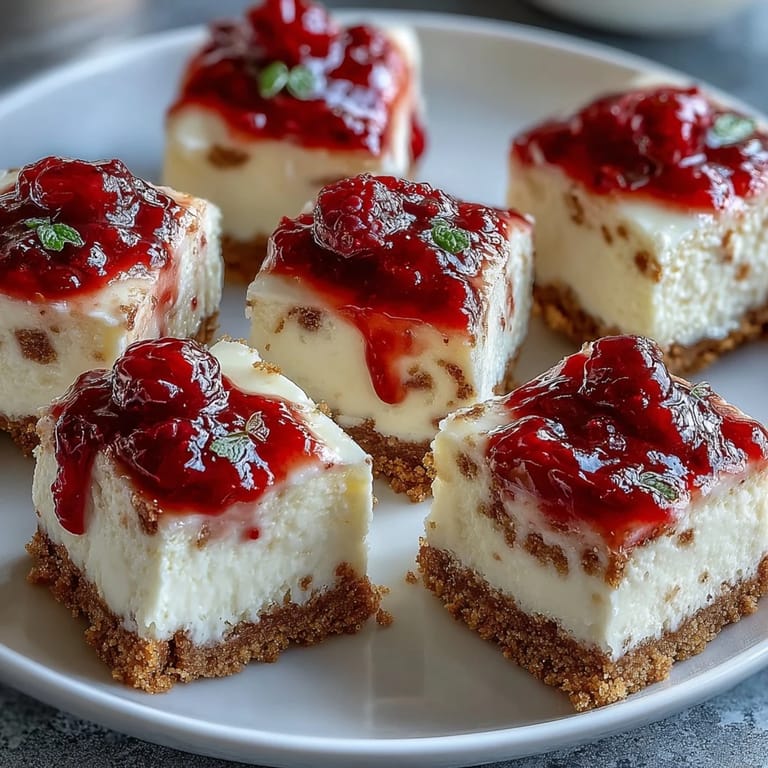
- Just before serving, crown each bite with a few fresh berries and, if you'd like, brush with warmed fruit preserves for that bakery-quality shine. Insert diploma picks at a jaunty angle and watch people smile before they even taste them.
 Save It
 At my cousin's party, a guest asked if I'd made these professionally, and honestly, that compliment meant more than she realized. These bites are proof that small things made with care and a little creativity can become the highlight of someone's celebration.
Flavor Variations to Try
Once you've nailed the classic version, the door opens for experimentation. I've done a lemon zest version where I add 1 tbsp of finely grated lemon zest to the filling—it brightens everything and pairs beautifully with raspberries. Another time, I swirled in a teaspoon of chocolate sauce before baking, creating a subtle marble effect that felt indulgent without being overwhelming.
Making These Ahead
The beauty of these bites is that you can bake them up to two days in advance, keep them refrigerated in an airtight container, and add the berries and picks just before the event. I usually prep the crusts and filling one day, bake everything the next morning, and then spend just 15 minutes before the party making them look party-ready. This approach takes the pressure off and lets you enjoy the celebration instead of frantically finishing dessert.
Hosting Moves
Presentation matters as much as taste when you're celebrating someone's big moment. I arrange the finished bites on a cake stand or wooden board so they catch the light, and the diploma picks become instant conversation starters. If you want to go the extra mile, add a small card that says something like congratulations or the graduate's name—it personalizes everything and shows you put real thought into the moment.
- Make sure your bites are fully chilled before inserting picks so the filling doesn't squish out.
- If berries slide around, a tiny dab of cream cheese on the bottom acts as edible glue.
- These pair beautifully with champagne, coffee, or even a simple glass of milk.
 Save It
 These cheesecake bites have become my go-to celebratory dessert, and I hope they become yours too. There's something special about serving something homemade that tastes like you care.
Recipe FAQs
- → Can I make these bites gluten-free?
Yes, substitute traditional graham cracker crumbs with certified gluten-free versions to ensure the bites suit gluten-sensitive diets.
- → What is the best way to achieve a smooth filling?
Beat the cream cheese and sugar until completely smooth before adding egg, vanilla, and sour cream, mixing gently to combine.
- → How long should the bites chill before serving?
Refrigerate for at least one hour to allow the cheesecake bites to set fully and develop their creamy texture.
- → Can I use different fruits for topping?
Absolutely, fresh berries like blueberries, raspberries, or strawberries work well, and adding a brush of fruit preserves adds extra gloss.
- → Is it necessary to bake the crust separately?
Baking the crust for a few minutes before adding the filling helps it set firmly and prevents sogginess.