 Save It
 There's something about summer mornings when you realize you've spent the last three days buying berries at the farmer's market but haven't actually eaten them yet. One Tuesday, staring at a bowl of strawberries and blueberries that were starting to soften, I decided to turn the problem into breakfast for the entire week. That's when I discovered chia pudding, and it changed everything about how I approach those rushed mornings when hunger hits and you're nowhere near the kitchen.
My friend Sarah brought these to our beach day last summer, pulling four jars out of her cooler while the rest of us were eating stale granola bars. Everyone kept asking what she had made, and when she explained she'd prepped them on Sunday, there was this collective moment of realization that meal prep didn't have to be boring chicken and rice. Now whenever we plan a day out, someone inevitably texts the group chat asking if Sarah's bringing her pudding cups.
Ingredients
- Unsweetened almond milk: Use whatever plant-based milk you prefer, but unsweetened keeps the pudding from becoming overly sweet and lets the berries shine. I've tried oat milk when almond wasn't available and honestly preferred the richer texture it gave.
- Chia seeds: These tiny powerhouses absorb liquid and create that custard-like texture without any cooking. Don't skip the second whisk after five minutes or you'll end up with a lumpy mixture that no one wants to eat.
- Maple syrup or honey: A tablespoon or two is usually enough, but taste as you go since berries add natural sweetness. I learned to add it to the berries separately sometimes and skip it in the pudding for a more balanced flavor.
- Vanilla extract: Just a teaspoon adds depth without making it taste like a dessert, though you could use almond extract for something different.
- Fresh summer berries: Whatever combination you find at peak ripeness will work, and mixing them prevents any single flavor from dominating. The tartness of raspberries against the sweetness of strawberries creates this perfect balance in your mouth.
- Lemon juice: A tablespoon brightens the berries and prevents them from browning during storage, plus it adds a subtle zing that keeps everything feeling fresh.
- Coconut flakes and mint: Completely optional, but they transform the whole thing into something you'd actually want to photograph and eat slowly instead of rushing through.
Tired of Takeout? 🥡
Get 10 meals you can make faster than delivery arrives. Seriously.
One email. No spam. Unsubscribe anytime.
Instructions
- Whisk the pudding base together:
- Pour almond milk, chia seeds, maple syrup, vanilla, and salt into a bowl and whisk until everything is combined and no dry chia seeds are hiding at the bottom. After five minutes, whisk again to break up any clumps that have started forming, which is the difference between silky pudding and gritty disappointment.
- Let it chill and set:
- Cover the bowl and slide it into the refrigerator for at least two hours, though overnight is even better when you want zero morning decisions. The pudding will transform from liquid to thick and spoonable, almost like it's created itself while you've been doing other things.
- Prepare your berries:
- Slice strawberries, leaving the blueberries and raspberries whole, then toss everything with lemon juice and a touch of maple syrup if you want. The lemon juice keeps everything from browning and adds a brightness that makes the berries taste more like themselves.
- Build your layers:
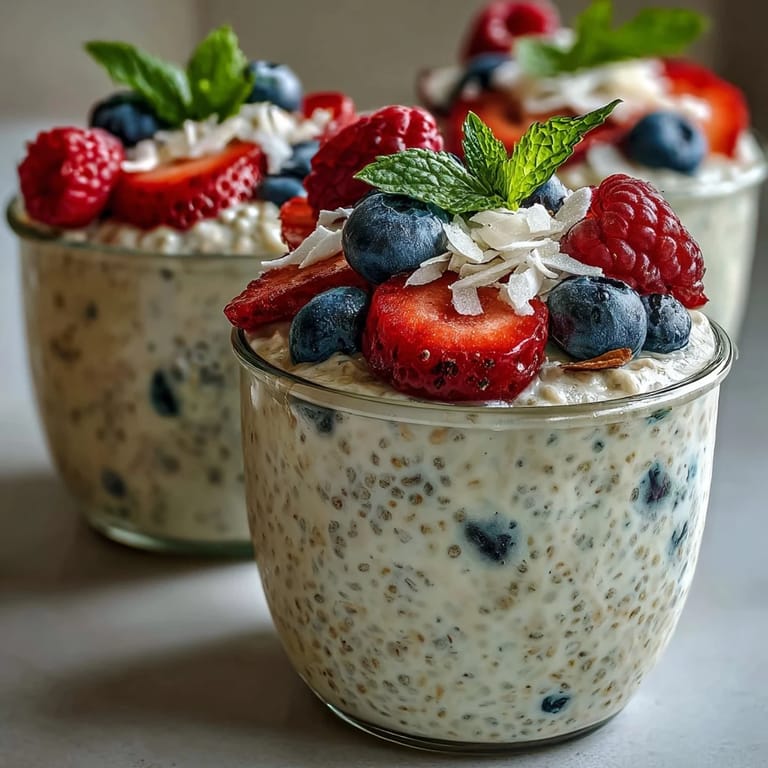
- Start with half the berries at the bottom of your jars, then spoon the chia pudding evenly over top, and finish with the remaining berries. This way, every spoonful has pudding and fruit in the same bite, and the berries on top stay visible and appetizing.
- Top and seal:
- Sprinkle with coconut flakes and tuck some mint leaves in if you're feeling fancy, then cover your jars with lids and refrigerate. These keep for up to four days, which means you can make them Sunday and still be eating something delicious on Wednesday morning.
 Save It
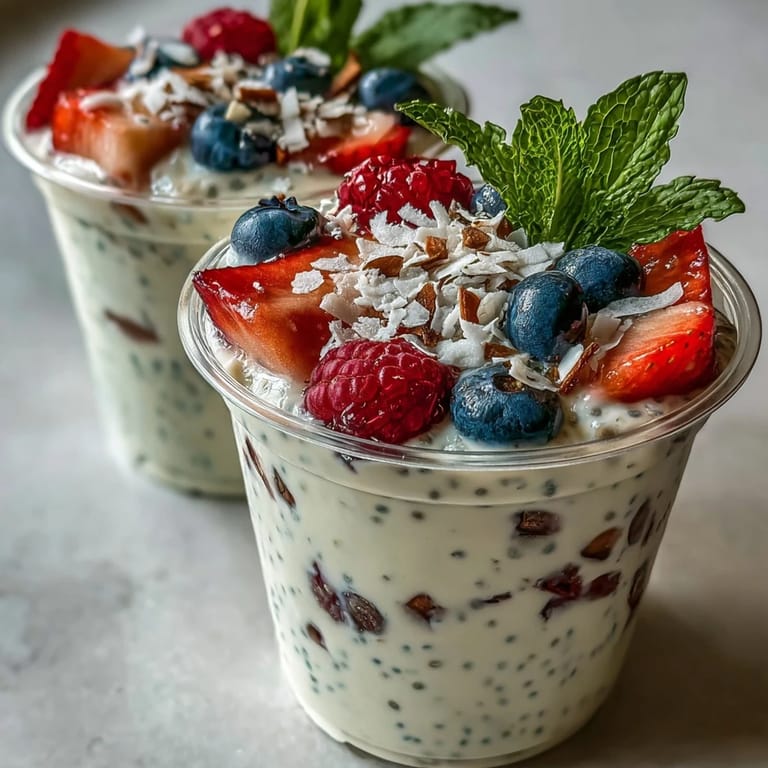
 My grandmother watched me pack these into jars one morning and said it was the first breakfast I'd ever made that made her want to eat healthily. Something about seeing the layers of berries and cream in a glass jar made the whole thing feel special, like a breakfast you'd order at a fancy cafe instead of something you threw together in ten minutes.
The Magic of Meal Prep
There's a particular kind of freedom in opening your fridge and knowing breakfast is already waiting, especially when mornings are hectic and your willpower for healthy choices is sitting somewhere near zero. These pudding cups transform the whole week because you're not choosing between convenience and nutrition, you get both. Every time you grab one, you're essentially telling yourself you're worth the care that went into making it.
Customizing Your Cups
The beauty of this formula is that it works with whatever berries look good at your market, and you can adjust sweetness without ruining anything. I've added a vanilla protein powder scoop when I wanted more staying power, and I've also made the pudding base with coconut milk when someone with a nut allergy was coming over. The flexibility means you can make these every week without them ever feeling boring, and you learn what ratios work best for your own taste.
Storage and Longevity
These cups genuinely taste better after a day or two because the flavors marry together and the pudding continues to soften slightly from the berry juices. I've learned that lining the bottom with berries and keeping the pudding in the middle helps preserve freshness, and the lemon juice is essential for preventing any browning. The four-day window is generous, and honestly most of mine are eaten by day three because once you start the week with access to these, they disappear fast.
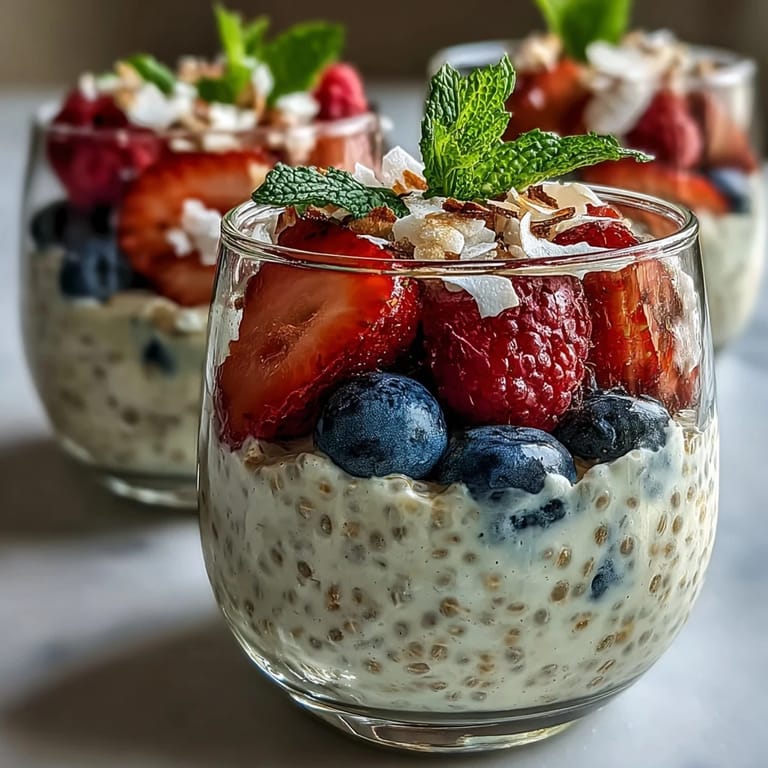
- Make them in clear jars so you can see what you're grabbing without opening the fridge door four times.
- Stir gently before eating if any liquid has separated at the bottom, then spoon from the bottom up to get all the layers.
- Leftover berries that don't make it into cups can become a compote or get tossed into yogurt the next morning.
 Save It
 This recipe turned out to be one of those kitchen discoveries that stays in rotation because it's genuinely delicious and never feels like a chore to make. Every time you make a jar, you're setting up a win for your future self.
Recipe FAQs
- → How long does chia pudding need to set?
Chia pudding requires at least 2 hours of refrigeration to achieve the proper thick, pudding-like consistency. For best results, let it set overnight—the texture becomes creamier and the seeds fully hydrate.
- → Can I use different plant-based milk options?
Absolutely. Any unsweetened plant-based milk works well, including oat, coconut, soy, or cashew milk. Keep in mind that coconut milk will yield a richer, thicker pudding while almond milk creates a lighter consistency.
- → How long do these meal prep cups last in the refrigerator?
When stored in airtight containers or jars with lids, these chia pudding cups stay fresh for up to 4 days in the refrigerator. The texture may become slightly thicker over time, which is completely normal.
- → What fruits work best for the berry layer?
While strawberries, blueberries, and raspberries create a classic summer combination, you can substitute blackberries, sliced peaches, kiwi, or cherries. Choose fruits that hold their texture well when refrigerated for several hours.
- → Can I make these chia pudding cups without sweetener?
Yes, you can omit the maple syrup entirely for a sugar-free option. The berries provide natural sweetness, and you can always add a drizzle of honey or maple syrup right before serving if desired.
- → What's the best way to prevent chia seeds from clumping?
Whisk the mixture thoroughly immediately after combining ingredients, then whisk again after 5 minutes of sitting. This second whisk breaks up any clumps and ensures even distribution of the seeds for a smooth, consistent texture.