 Save It
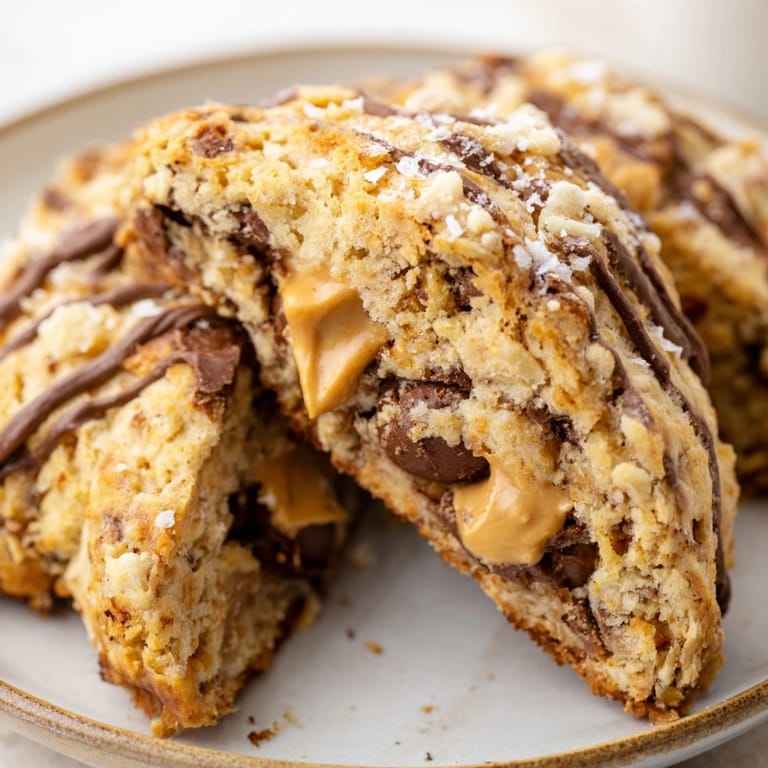
 These Peanut Butter Chocolate Swirl Scones offer layers of flaky buttery pastry striped with ribbons of creamy peanut butter and pools of melted chocolate. They satisfy when cravings hit for something special at breakfast, but also shine as a shareable afternoon treat. Their foolproof dough comes together fast, so you can have bakery-worthy scones on the table in under forty minutes.
The first time I tried this twist on classic scones was a chilly Sunday morning when my family wanted something cozy. Now these disappear almost instantly from the breakfast table every time I make them.
Ingredients
- All-purpose flour: creates a sturdy but tender base for the scones try to choose flour that feels fresh without any off smells or clumping
- Granulated sugar: sweetens the dough but does not overshadow the peanut butter and chocolate use pure cane if available
- Baking powder: gives lift so your scones have that desirable crumb double-check it is fresh for best rise
- Salt: sharpens the flavors and keeps the scones from tasting flat opt for fine sea salt if possible
- Unsalted butter: makes the scones rich and flaky cold butter is essential for creating flaky layers I always use a good-quality butter for depth of flavor
- Whole milk: ensures the dough holds together and adds moisture if possible select milk with a full fat content for a richer flavor
- Large egg: binds everything together and adds extra tenderness fresh eggs work best here
- Vanilla extract: enhances the sweet aromas choose pure extract for the cleanest taste
- Creamy peanut butter: creates those luscious swirls I always use a creamy style for even ribbons throughout the dough make sure the peanut butter is stirred smooth with no lumps
- Semi-sweet chocolate chips: add rich pools of chocolate select chips that have a glossy surface indicating fresh chocolate
- Heavy cream (for brushing): helps scones turn golden brown as they bake ultra-fresh cream gives the best sheen
- Coarse sugar: provides a lovely crunchy finish sprinkle just before baking for textural contrast
Tired of Takeout? 🥡
Get 10 meals you can make faster than delivery arrives. Seriously.
One email. No spam. Unsubscribe anytime.
Instructions
- Preheat the Oven:
- Set your oven to four hundred degrees Fahrenheit or two hundred degrees Celsius and line a baking sheet with parchment paper for easy clean-up
- Mix the Dry Ingredients:
- In a large bowl whisk together the flour sugar baking powder and salt making sure they are evenly blended for a balanced scone texture
- Cut in the Butter:
- Using a pastry cutter or your fingertips work the cold butter into the dry mix until you have coarse crumbs The butter should stay fairly chunky for the flakiest result This step makes or breaks that signature scone structure
- Add the Wet Ingredients:
- In a separate bowl whisk together whole milk egg and vanilla extract Pour this over the dry mixture then gently fold just until everything is combined Avoid overmixing to prevent tough scones
- Swirl in Peanut Butter and Chocolate:
- Drop spoonfuls of creamy peanut butter over the dough Sprinkle chocolate chips on top Using a spatula or knife gently fold and swirl only once or twice to create marbled ribbons Do not overwork or you will lose the swirls
- Shape and Cut the Dough:
- Turn the rough dough out onto a lightly floured surface Pat into a seven-inch disk about one inch thick Use a sharp knife or bench scraper to cut into eight wedges The edges should look rustic
- Prepare for Baking:
- Arrange wedges on the parchment-lined sheet Brush each scone with heavy cream for extra color and sprinkle with coarse sugar if using For maximum crunch I always press the sugar lightly so it adheres
- Bake to Perfection:
- Bake in the preheated oven for sixteen to eighteen minutes Scones are ready when their tops are golden and a toothpick comes out clean The chocolate may look molten This is a good sign
- Cool and Serve:
- Let the scones cool slightly on the baking sheet before moving to a rack to finish cooling I recommend serving while still warm so the chocolate is irresistibly gooey
 Save It
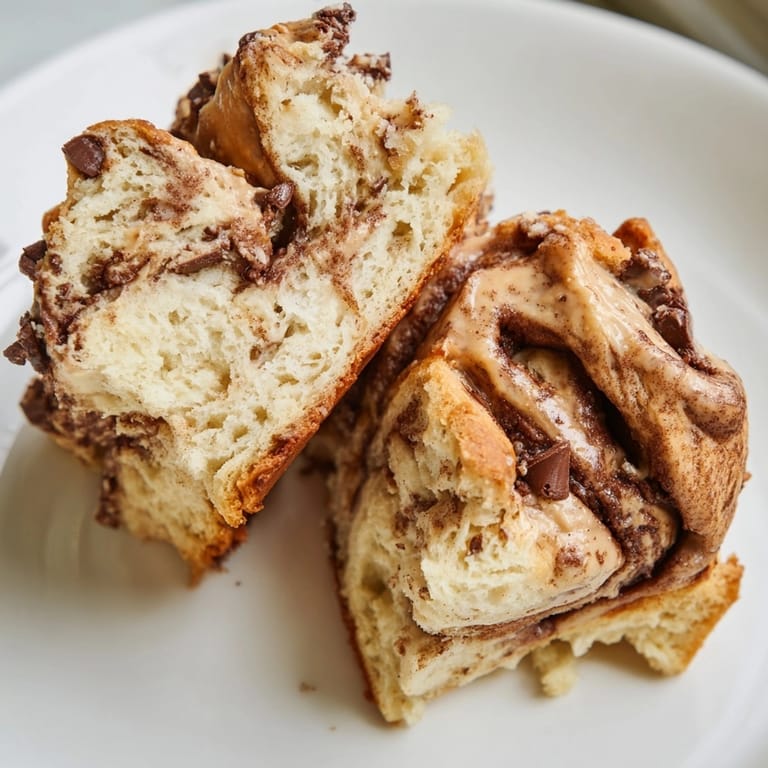
 Peanut butter remains my favorite ingredient because it brings both nostalgia and comfort to every bite The swirl always reminds me of drizzling peanut butter onto fresh scones with my kids on lazy weekends It quickly became a tradition in our home and now everyone wants to help create those playful peanut butter streaks
Storage Tips
Store any leftover scones in an airtight container at room temperature for up to two days For longer storage refrigerate for up to five days but bring to room temperature before eating Scones also freeze beautifully Arrange cooled wedges on a baking sheet freeze until firm then transfer to a freezer bag To serve reheat directly from frozen in a warm oven until heated through
Ingredient Substitutions
Make it dairy free by swapping in plant based butter and milk Use your favorite nut butter instead of peanut butter for variety Almond or sunflower butter both work well For a nut free option try using a seed butter such as pumpkin or soy nut and select allergy safe chocolate chips
Serving Suggestions
These scones shine with a drizzle of melted chocolate or a simple vanilla glaze right after baking Try serving alongside a mug of hot coffee or a cold glass of milk For brunch pair with fresh berries and yogurt or tuck into a lunchbox as a sweet treat
 Save It
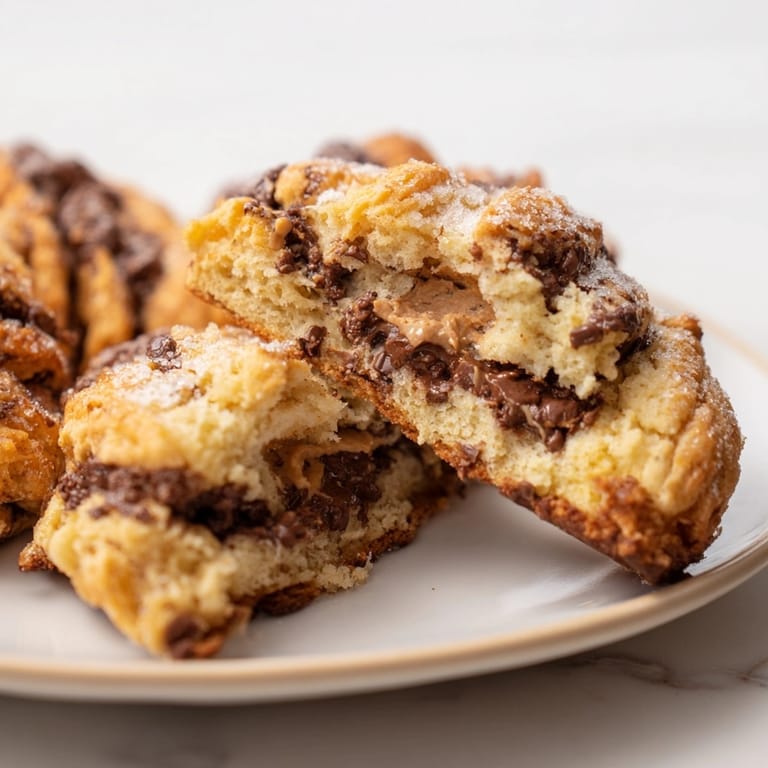
 Bake a batch soon for an unbeatable bakery-style treat at home. Enjoy every bite warm from the oven or save a wedge for later to relive those sweet and salty flavors.
Recipe FAQs
- → How do I achieve distinct peanut butter and chocolate swirls?
Gently fold the peanut butter and chocolate chips into the dough just once or twice. Avoid overmixing to preserve ribbons and pockets of flavor throughout each scone.
- → Can I make these dairy-free?
Yes, substitute almond or oat milk for whole milk, and use dairy-free chocolate chips. Ensure your butter alternative is suitable for baking.
- → Why is cold butter important?
Cold butter creates a flaky, tender crumb as it melts during baking, resulting in light, airy scones with the signature texture.
- → Should scones be served warm?
Serving warm enhances taste and texture, making the peanut butter and chocolate ribbons especially rich and gooey.
- → Can I add toppings after baking?
Drizzle with melted chocolate or glaze for extra richness and visual appeal, elevating the scones for special occasions or treats.
- → How do I store leftover scones?
Once cooled, store in an airtight container at room temperature for up to a day, or refrigerate to maintain freshness longer.